Get Started
A bumper can be used to guide a ball through a game or as an obstacle that a ball can hit and bounce off of. This tutorial will show you how to make two different types of rubber band bumpers that can be placed in any design. Once they are built, you can glue them wherever you want on your game board!
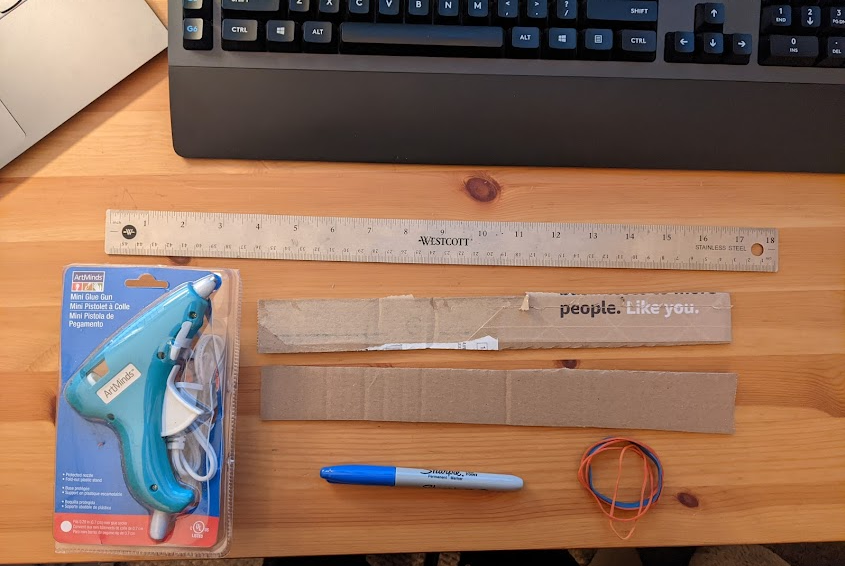
To get started, gather the following supplies.
Supplies
- Hot glue gun and glue sticks
- Pencil, pen, or marker
- Ruler
- 1” wide cardboard strips, 12 inches long (thin cardboard works best)
Rubber bands (at least one for each cardboard strip)
Hexagon Bumper (6 sides)
- Take one of the 12 in. long cardboard strips
- Use the ruler to draw lines on the cardboard strip that are 1” apart
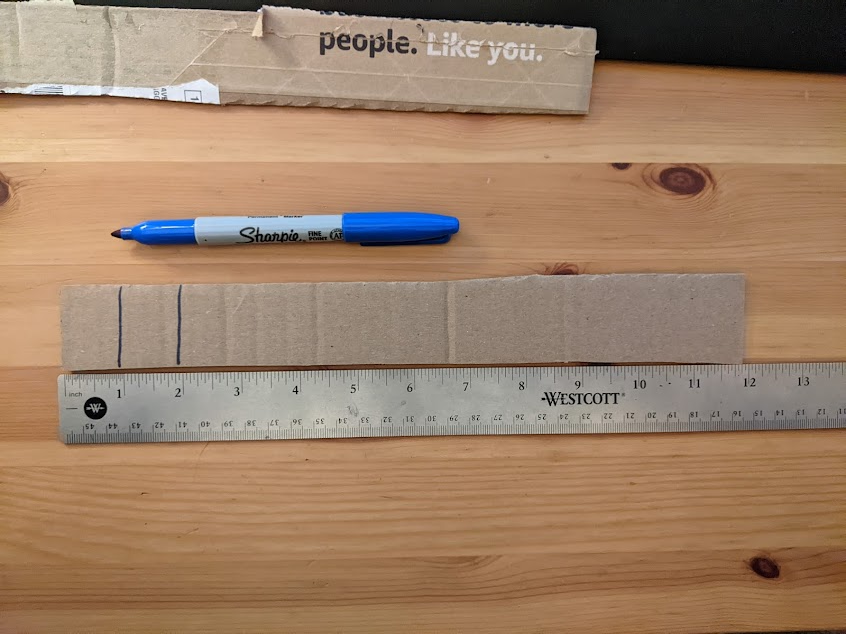
There should be a total of 11 lines on the strip when you are done.

These lines will be used as a guide to fold the bumper into its shape.
Fan fold the cardboard strip at each of the lines, it will look like a zig-zag when all of the folding is done.


Mark an ‘X’ on the beginning and end rectangles of the strip.

Put hot glue on the 2nd and 3rd rectangles (the ones without the X’s) and squeeze them together to form a “fin”.
DO NOT PUT HOT GLUE ON THE RECTANGLES WITH X’S YET! They will be glued last.
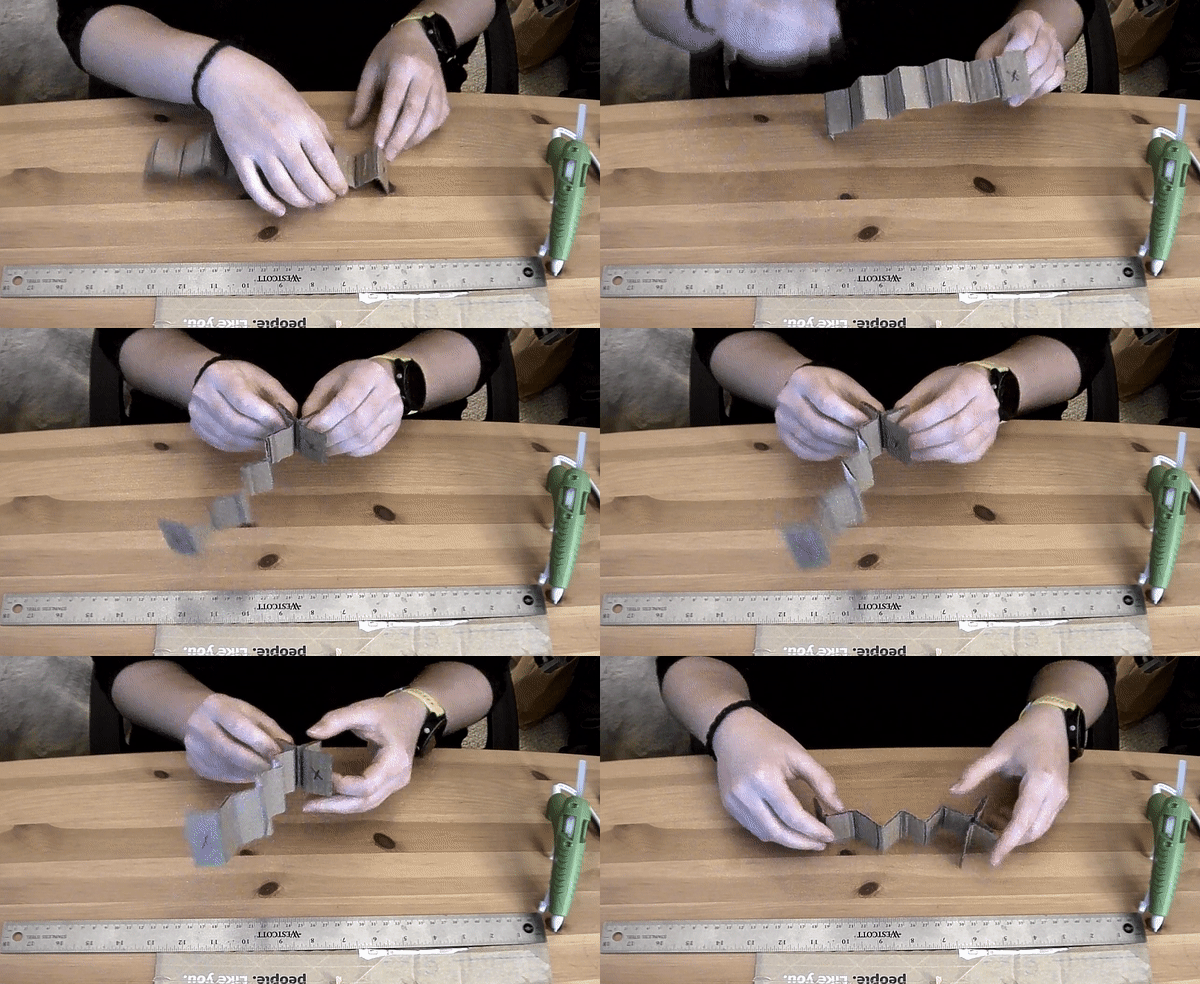
Continue to glue pairs of rectangles together until you have 5 “fins.”
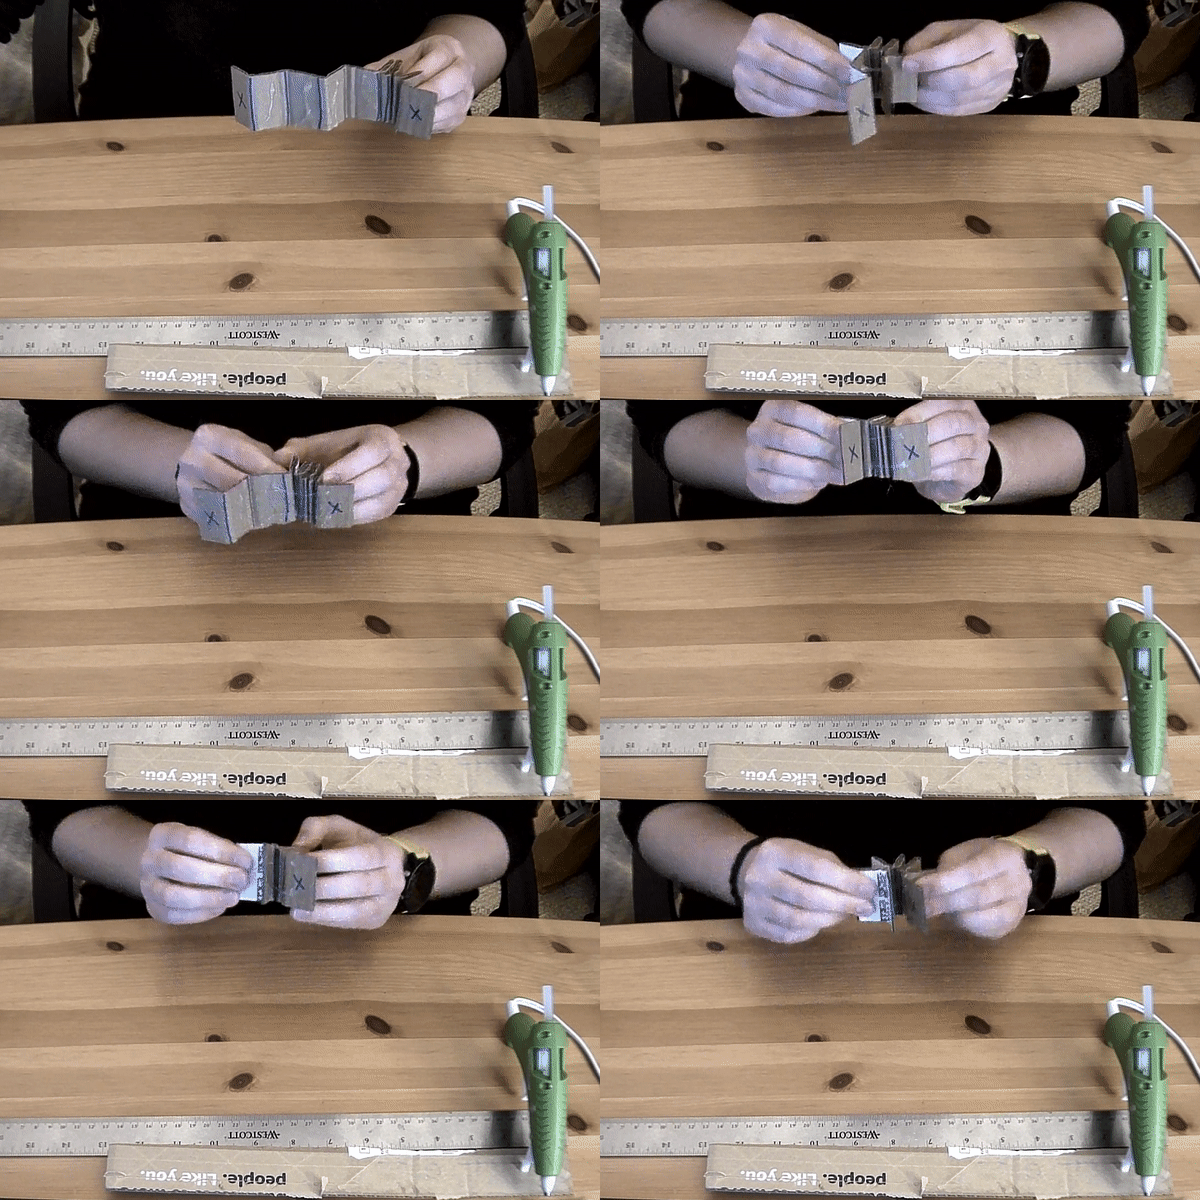
Finish by hot gluing the rectangles with X’s together.

Your bumper should be able to stand on its own now!

Stretch the rubber bands around the fins, and you’ve got a rubber band bumper!


Triangle Bumper (3 sides)
- You can also make a larger bumper with only 3 fins!
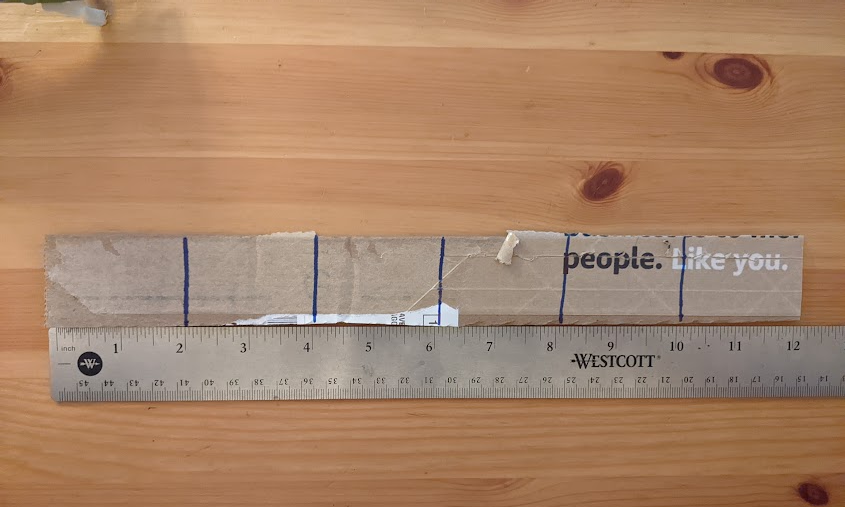
- Just mark lines 2” apart this time (five lines total)
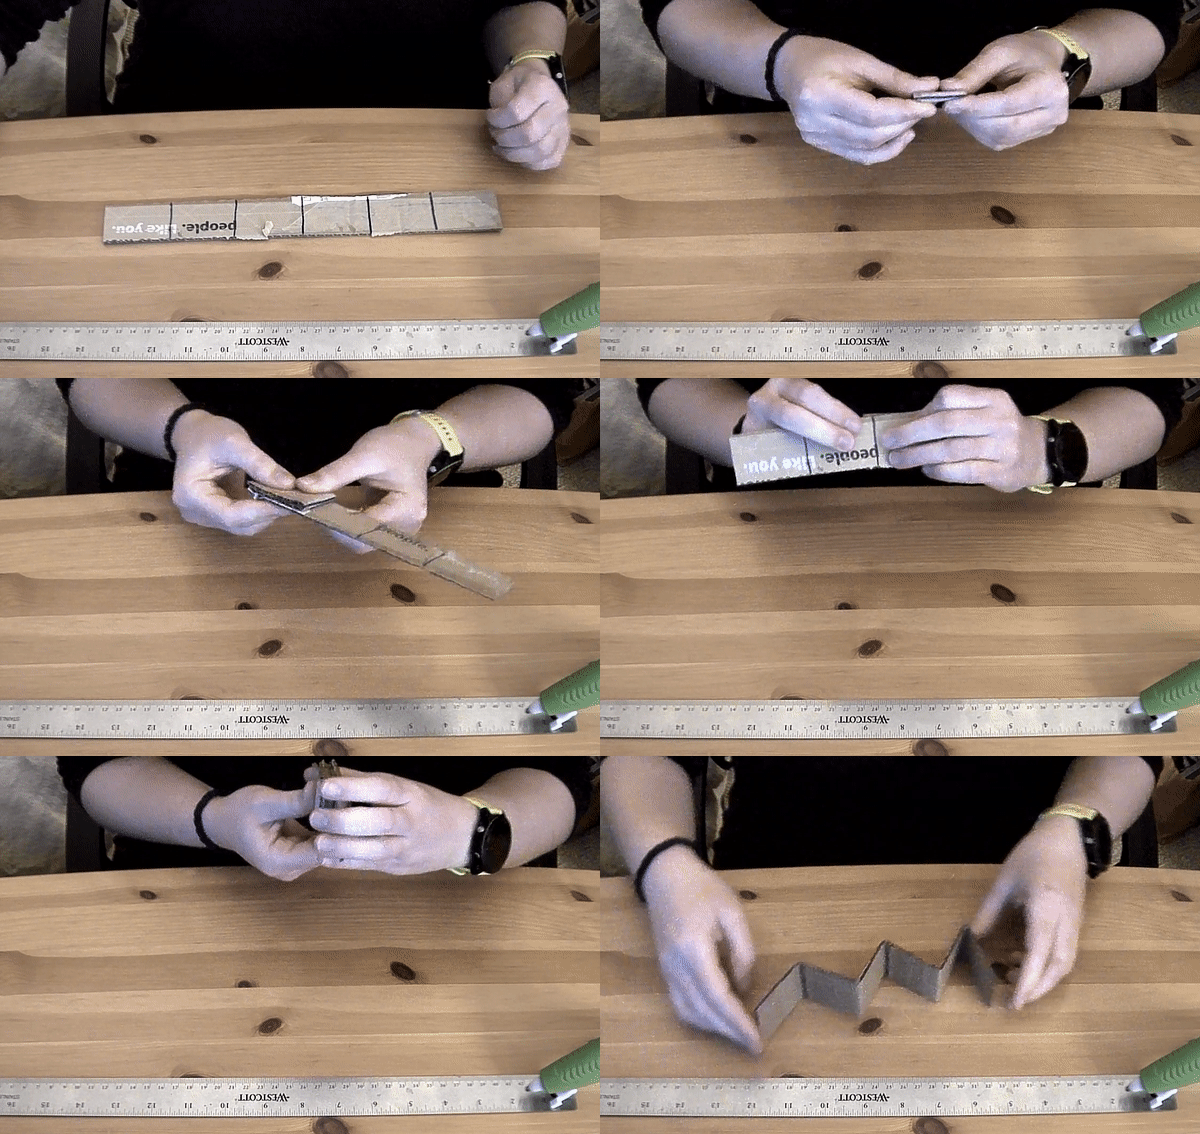
Do the fan fold…
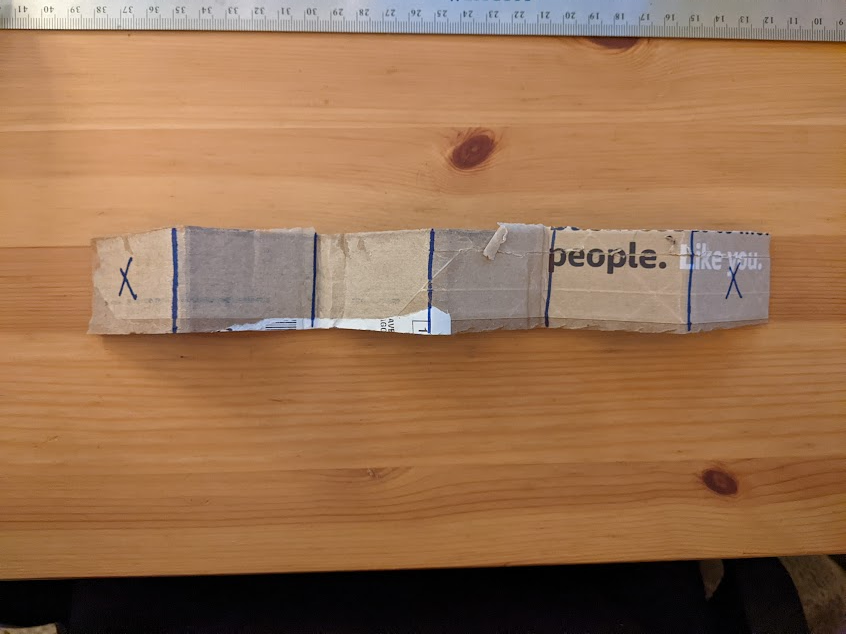
Mark the ends with X’s again…
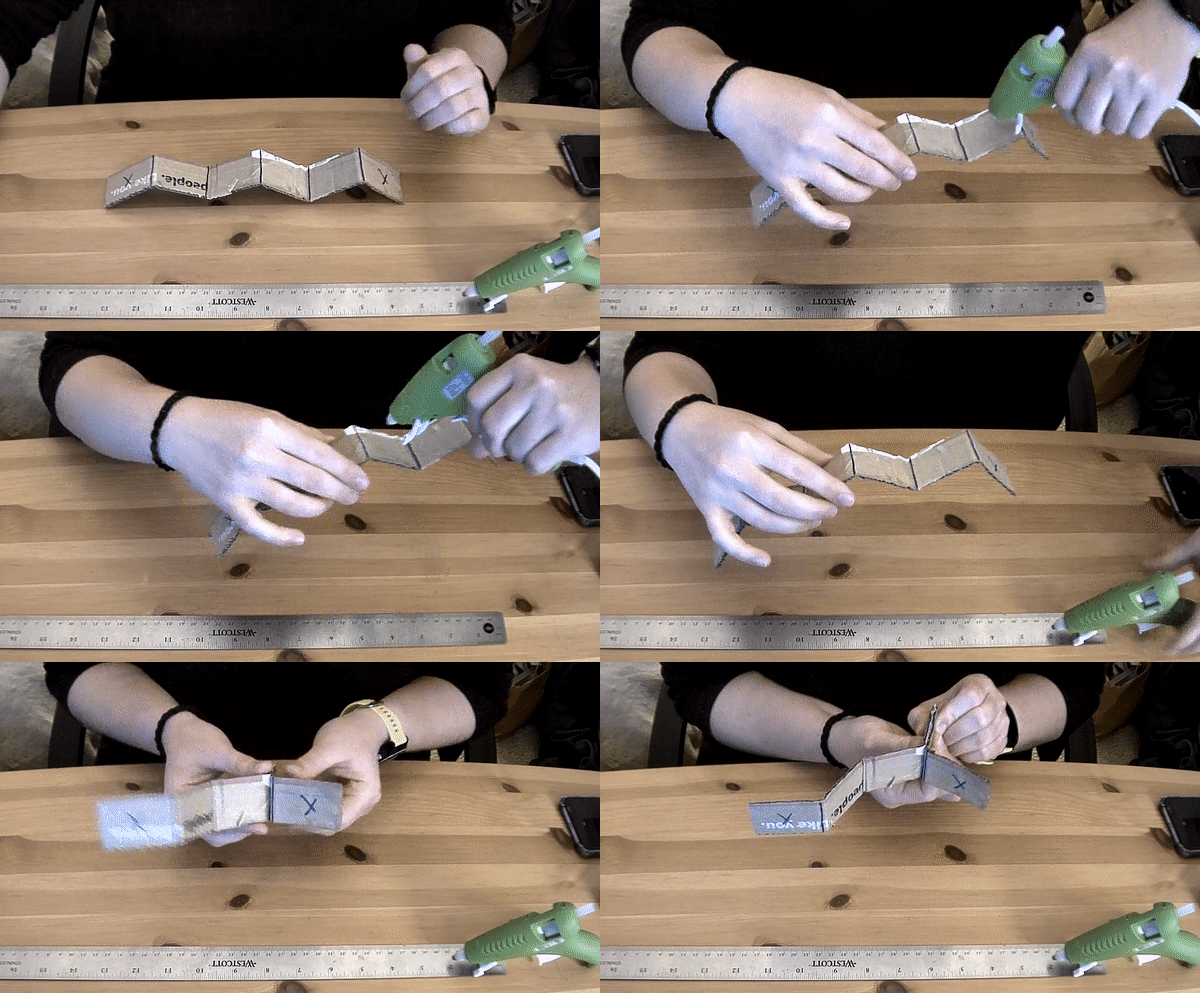
And glue pairs of rectangles together again…Finishing with the X’s last!

Then wrap the rubber bands around! You might need to adjust the distance between the fins when the rubber bands are put on so that they are equally spaced.

